
Solid Edge - How to create custom colors in Solid Edge
To create custom colors, you need to create custom Face Styles. To create a custom Face Style, do the following:
Note: In this example we’ll wish to create a chestnut brown color.
Note: If you want the new face style color to be available in all new files, perform these steps in your template file.
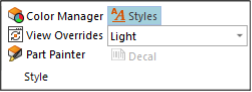
1. Choose View tab→Style group→Styles.
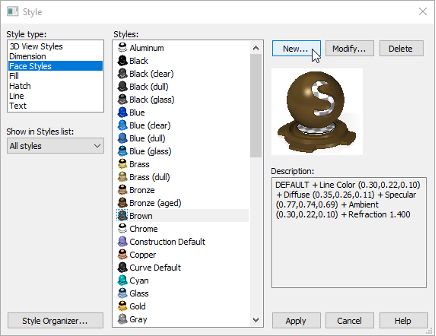
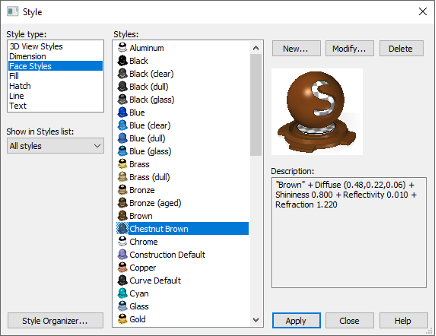
2. In the Style dialog box, set the Style Type to Faces Styles.

3. From the Styles list, select a color which is similar to the new one you intend to create, and then click New.
Since we a created a shade of brown we’ll select the brown color, and then click New.
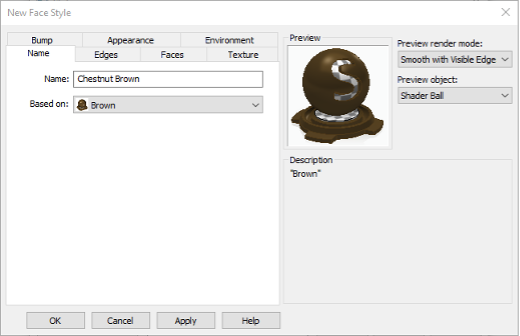
The New Faces Style dialog box is displayed showing the properties of the color you selected.
4. On the Name page of the New Faces Style dialog box, in the Name box, type a name for the new style.
5. On the Faces page of the New Faces Style dialog box, use the RGB color-component sliders and the hue, saturation, and intensity sliders to modify the color in each square to match the color you want.
Note: Here we entered the RGB numbers sent to us by the supplier (48,22,06).
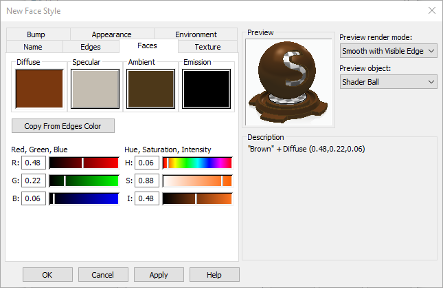
Tip: Each square defines how the color will react to different light sources. The preview pane at right gives you feedback as you change the values.
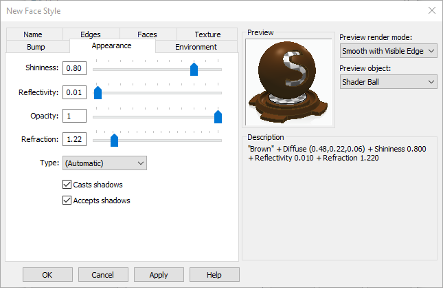
6. On the Appearance page of the New Faces Style dialog box, use the Shininess, Reflectivity, Opacity, and Refraction sliders, as well as the shadows options, to define how the part face will appear when the new color is applied to it.
7. When you are done, click OK to add the new color to the Faces Styles list.
This color is now available to use in your model.
October 28, 2024