
Solid Edge - How to install a single client version Standard Parts in SE2025
To install Standard Parts in SE2025, in an unmanaged environment, on the same computer that you are running Solid Edge, do the following:
Step 1: Download the necessary files.
- Go to the Siemens support – Solid Edge downloads page.
(https://support.sw.siemens.com/en-US/product/246738425/downloads)

- Click on the Solid Edge 2025 (2410) Portfolio link and scroll down to the StandardPartsAdministrator_2025_2410_ENGLISH.exe and download that file.
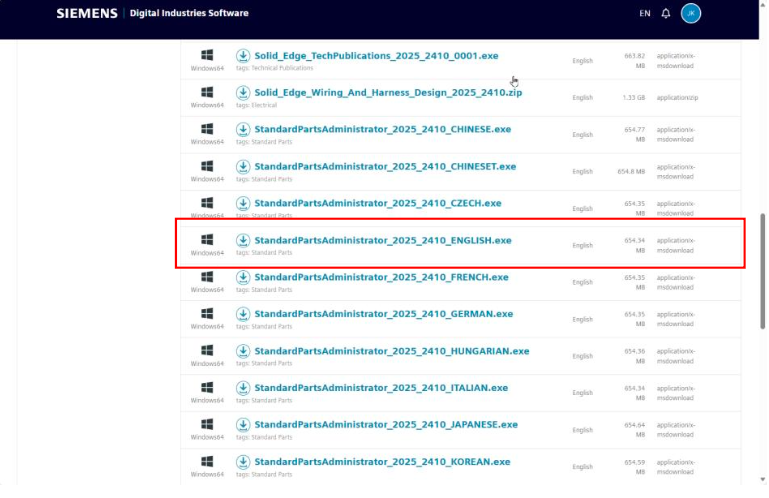
- If you have the Classic or Premium license or have purchased the libraries, then scroll down to the Standard_Parts_Libraries_2025_2410.exe file and download that file.

- Once both files are downloaded you can exit out of the Siemens Support site.
Step 2: Install the Standard Parts Administrator.
- Locate the downloaded StandardPartsAdministrator_2025_2410_ENGLISH.exe file and double-click on it to start the installation process.
- You will first be prompted to install the Microsoft SQL Server software.
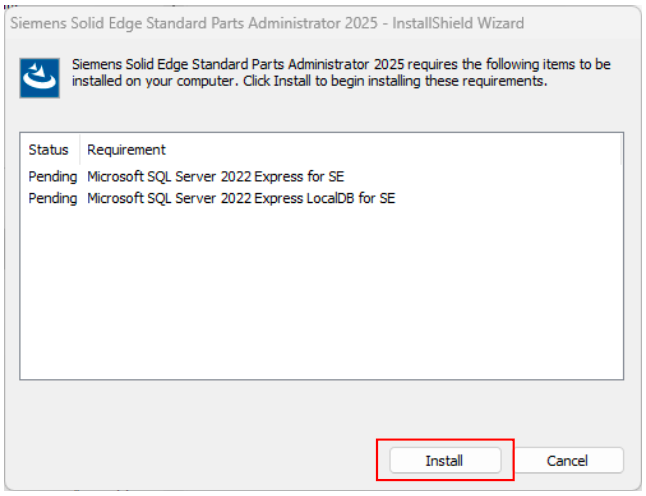
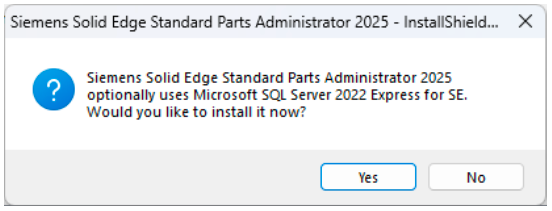
- Click the Install button. You will receive the following message, click Yes.
- The server will begin to install. After several minutes you will receive the following message:
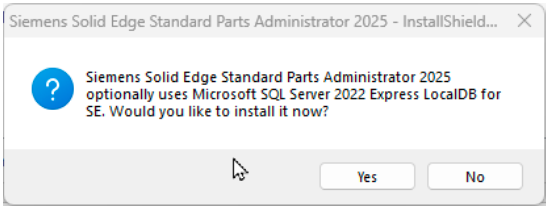
- Click Yes. This completes the SQL Server installation. You are then presented with the following window:
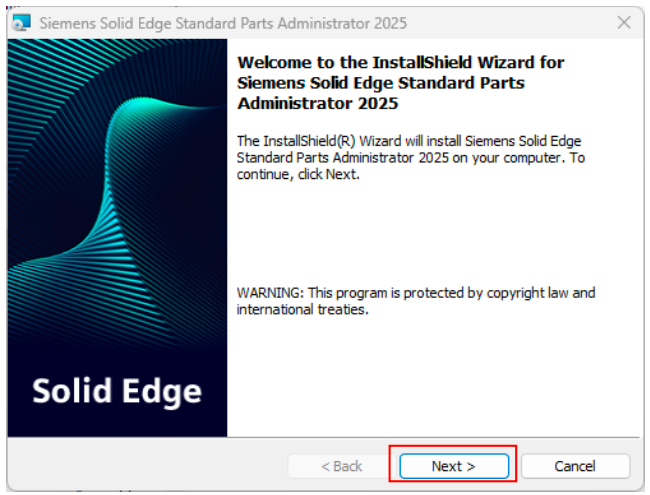
- Click Next.
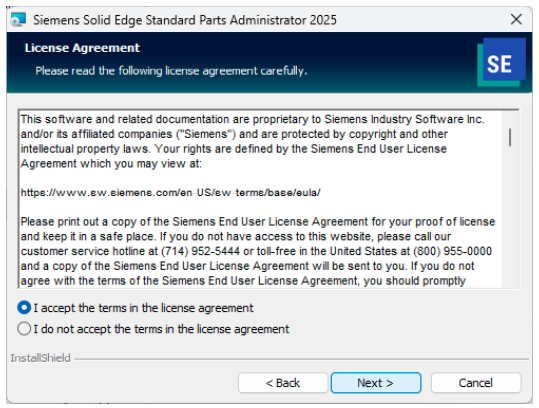
- You are then presented with the License Agreement window.
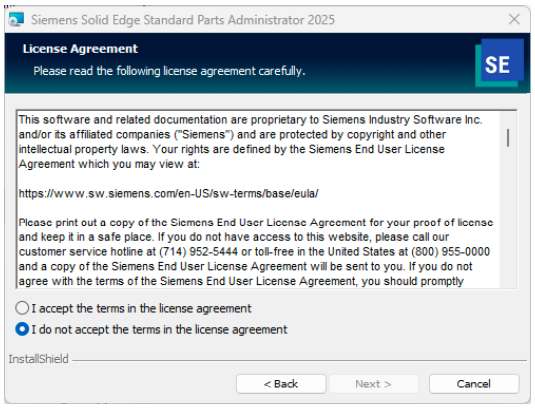
- Review the license agreement. Toggle on the I accept the terms on the license agreement. Then click Next.
- You are then presented with the Customer Information window.
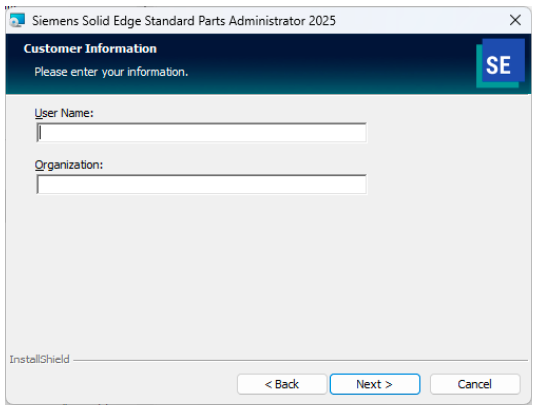
- Enter in the Username and Organization and then click Next.
- You’re then presented with the free Standard Parts library standards list.
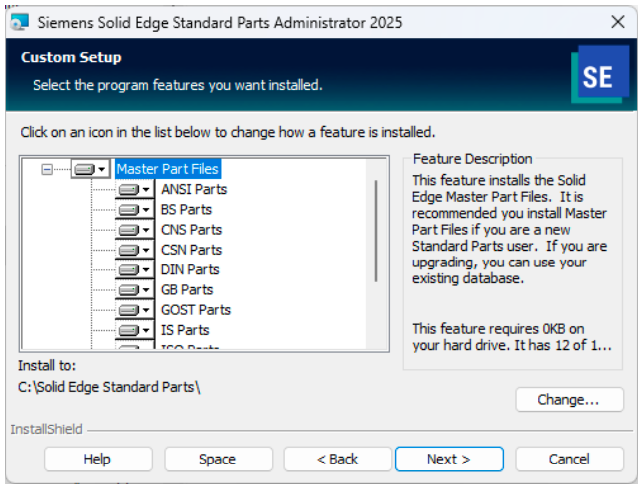
- Here you can choose which standards you want to load. It is recommended that you only load the standards that you use. The keeps the database at a more manageable size.
- To remove a standard, click the little black arrow on the icon in front of the standard and select the This feature will not be available option.
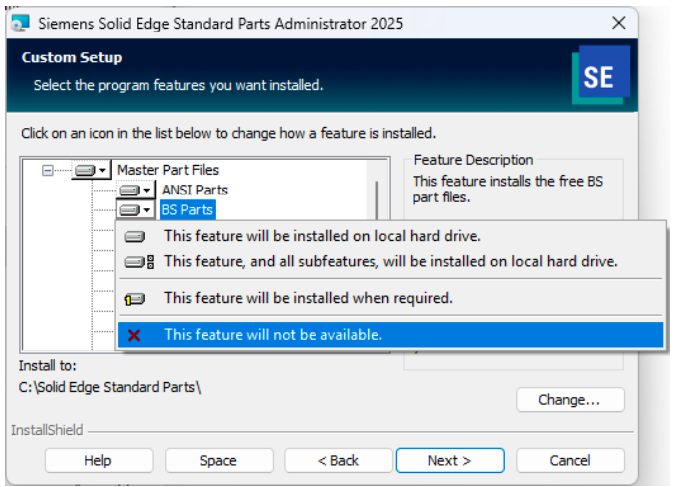
- Once you’ve selected or de-selected the standards that you want, click Next.

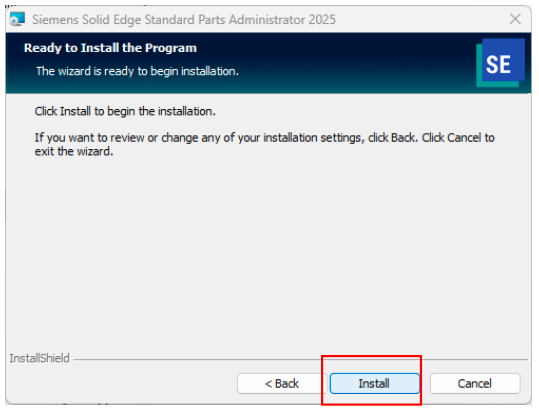
- You’re then presented with the last page of the wizard. Click Install.
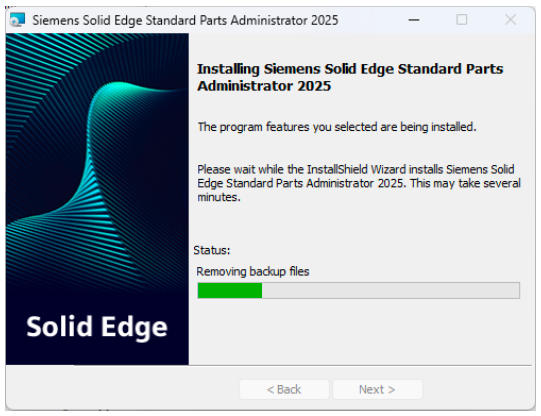
- The Standard Parts Administrator begins to install.
- When the installation is complete the following window appears:

- Click Finish to complete the installation.
Step 3: Setup the free library.
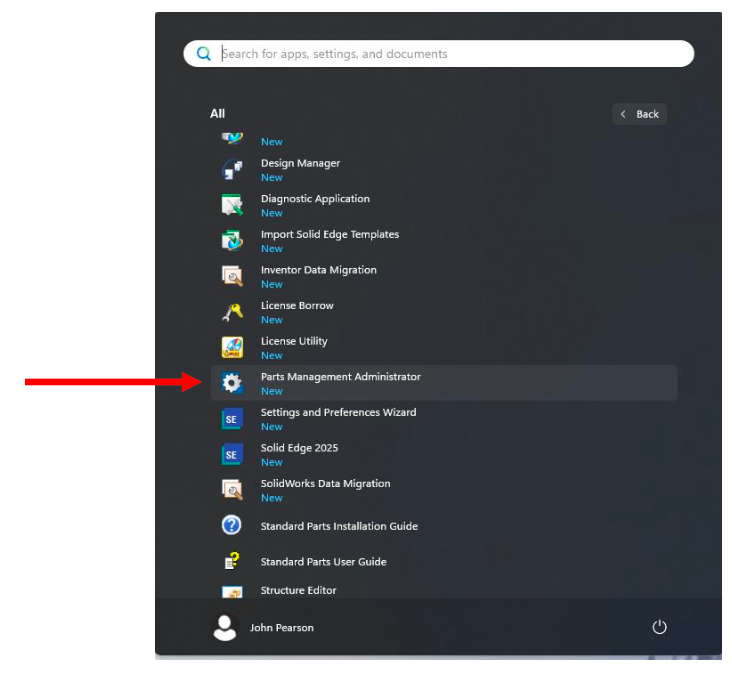
- Launch the Parts Management Administrator from the Windows Start menu.
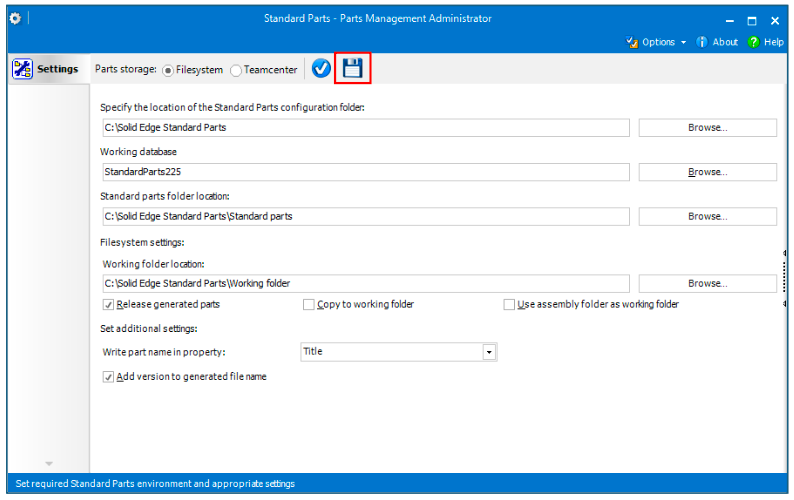
- If you are using the default installation folder location, just click Save.
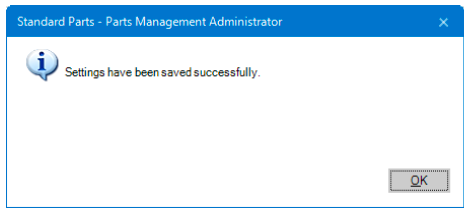
- You will then be presented with this message. Click OK.
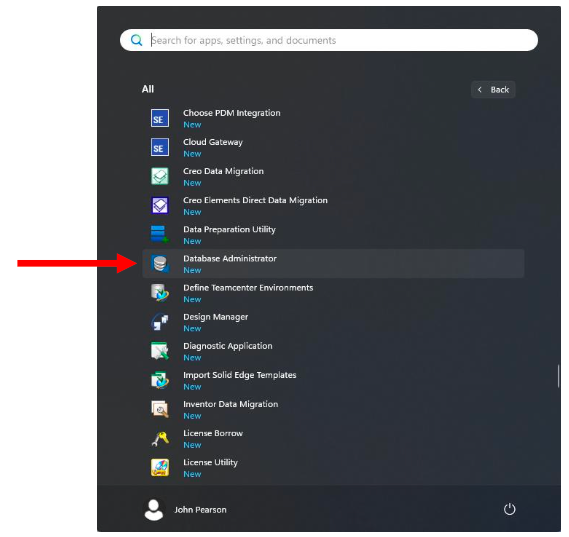
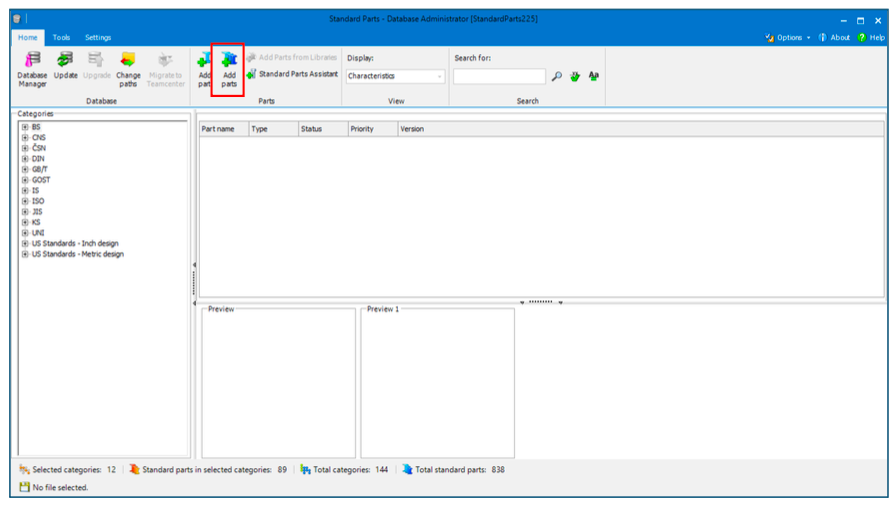
- Next, launch the Database Administrator from the Windows Start menu.
- This will launch the Standard Parts – Database Administrator window. Click on the Add Parts command.
- In the Add parts dialog box, make sure the C:\Solid Edge Standard Parts\Standard parts entry is checked, as shown in the following image, and click OK.

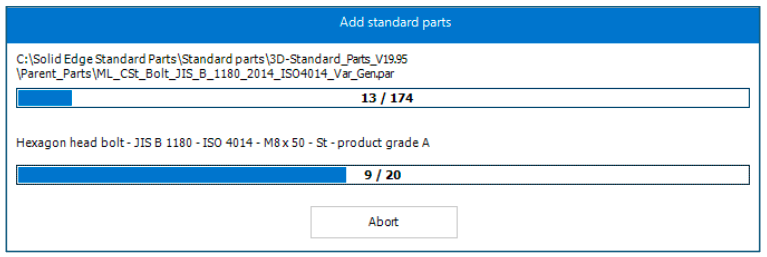
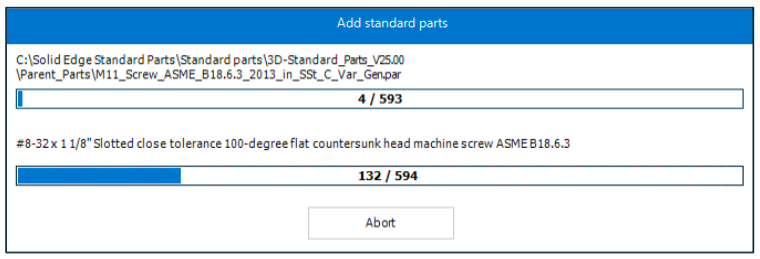
- This will start loading the free content library into the Standard Parts database. This will take several minutes. The more you’ve loaded the longer it will take.
- When done, you can close the Standard Parts – Database Administrator window.
- This completes the installation of Standard Parts and the free content.
Step 4: Installing the add-on libraries.
- Locate the downloaded Standard_Parts_Libraries_2025_2410.exe file and double-click on it to start the installation process.
- You are then presented with the following window:

- You are then presented with the License Agreement window.
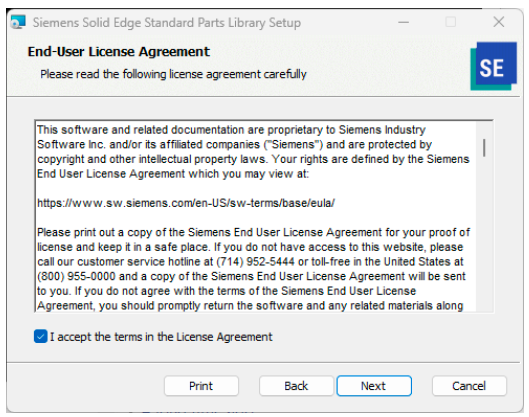
- Review the license agreement. Toggle on the I accept the terms on the license agreement. Then click Next.
- You are then presented with the Customer Information window.
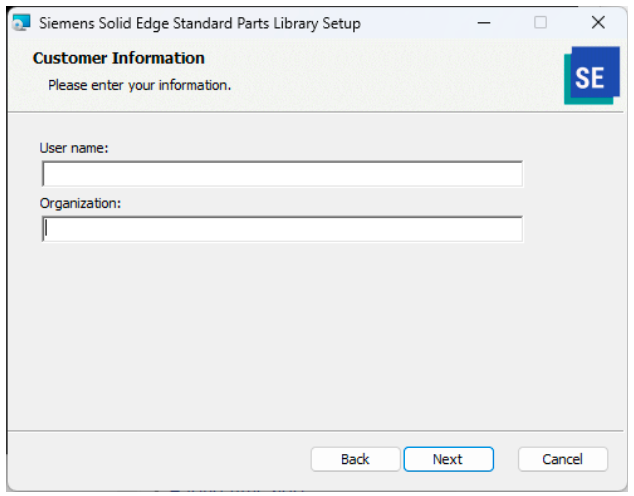
- Enter in the User Name and Organization and then click Next.
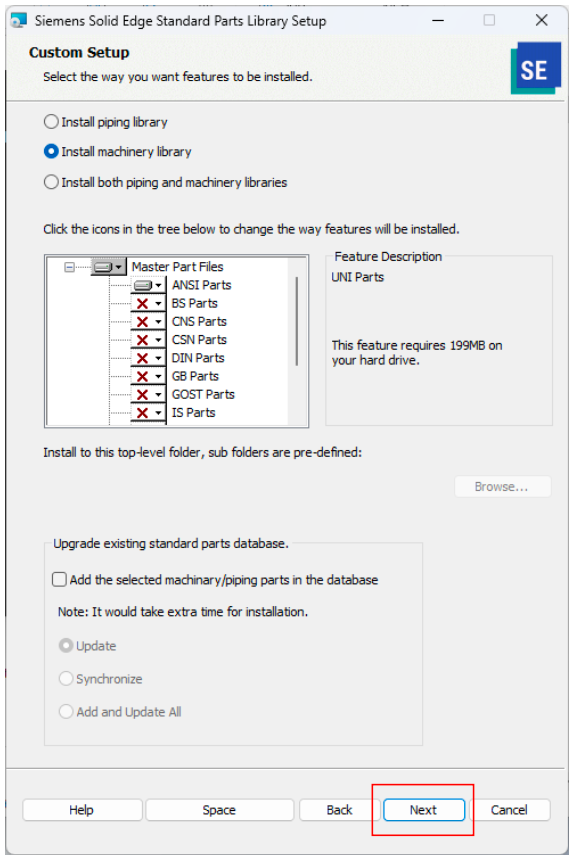
- You’re then presented with the free Standard Parts library standards list.
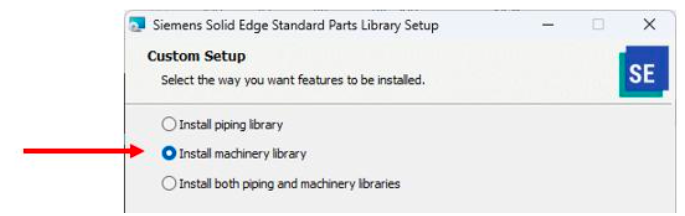
- To install the machinery library, toggle on the Install machinery library.
- Here you can also select which standards you want to load. It is recommended that you only load the standards that you use. The keeps the database at a more manageable size.

- To remove a standard, click the little black arrow on the icon in front of the standard and select the This feature will not be available option.
- Once you’ve selected or de-selected the standards that you want, click Next.
- You’re then prompted to select the language for the delivery content database.
- The default language is English.
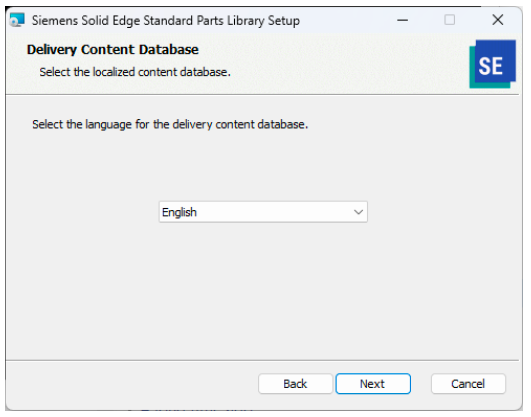
- Click Next.
- You’re then presented with the last page of the wizard. Click Install.
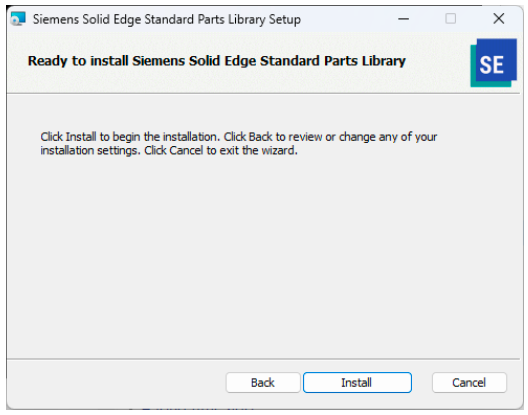
- The Machinery library begins to install.
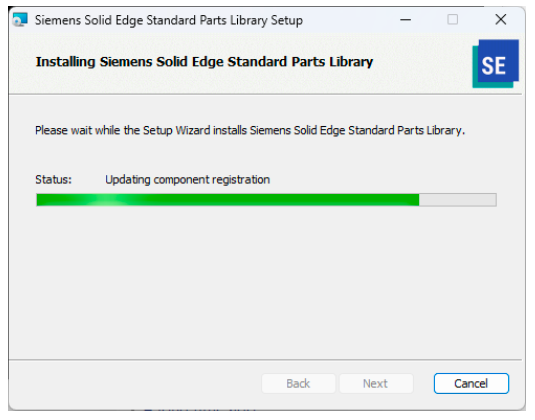
- When the installation is complete the following window appears:
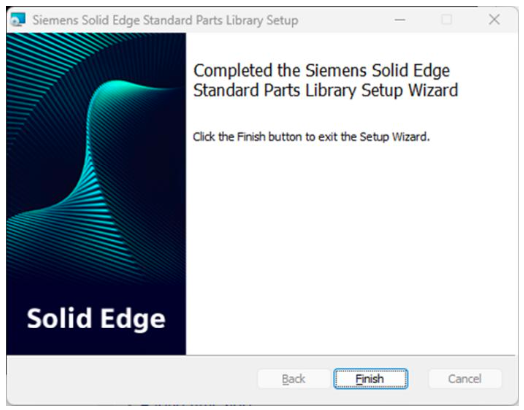
- Click Finish to complete the installation.
Step 5: Add the library to the Standard Parts database.
- Launch the Database Administrator from the Windows Start menu.

- This will launch the Standard Parts – Database Administrator window. Click on the Add Parts From Libraries command.
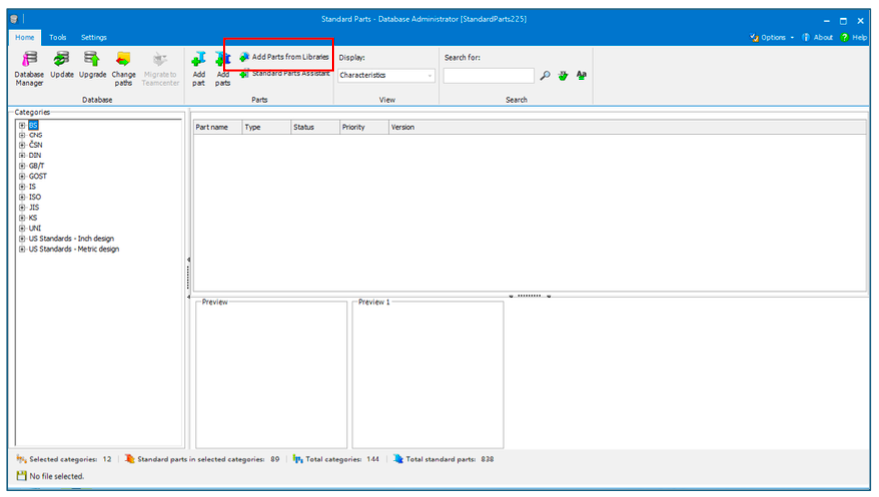
- This message will appear.

- When the libraries are loaded, you will see the following screen.

- Hear you can select which parts you can add to the database. These can be selected from the Categories listed in the left side window.
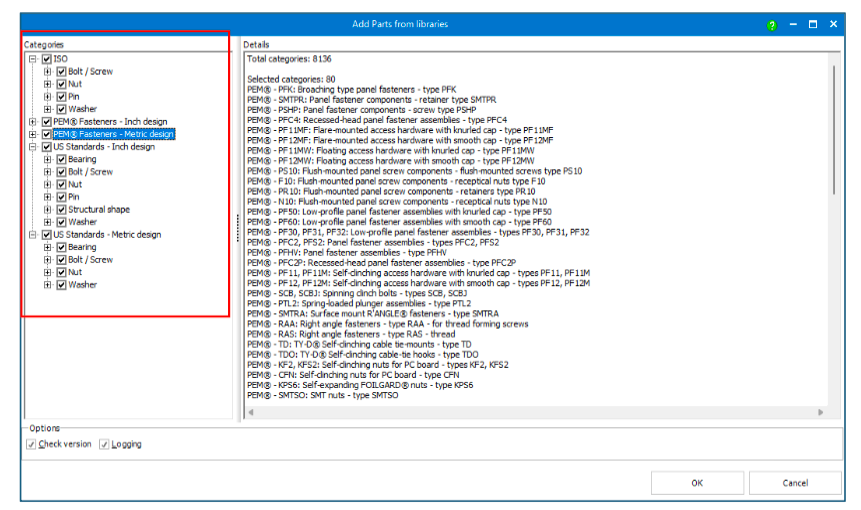
- This will start loading the library content library into the Standard Parts database. This will take 5 minutes to an hour. The more you’ve loaded the longer it will take.
- When done, you can close the Standard Parts – Database Administrator window.
- This completes the installation of the Machinery library to the Standard Parts database.
Solid Edge - How to install a single client version Standard Parts in SE2025
March 10, 2025